Thursday, August 4, 2016

Scrapping with Blue Fern

I have to say, Blue Fern have some of the most beautiful papers around (my opinion anyways).  I love the quality of the paper and the designs are so pretty.  Not only do I love their papers, but their chipboard is truly awesome!
 
Recently while I was in my fav scrapbook store (The Scrapbook Store) I picked up some papers.
 
Just sharing today what I did with them.


Those diamonds are a chipboard pack and I have covered them with some embossing powders and some gesso.  I added some textured paste and some stenciling to my back ground and then pulled out my flower stash.
 
Here is a close up


I was really pleased with how this next one turned out.  I never ever ever scrap pics of myself on my own, but I think as I get older, I realise the importance of it. 
 
Again this is using some Blue Fern papers and a mix of chipboard and flower.


A couple of close ups for you.  I did attempt to do some mixed media on the background and surprisingly I didn't stuff it up!
 
That really sweet little metal embellishment with the balloon on is from a pack from Wild Orchid Crafts.  They also have some lovely products.


These pretty flowers are also from Wild Orchid crafts and I pulled out my micro beads and had a bit of a play with them too.


Thanks for stopping.
 
Until next time
 
Hugs
 
Jo


Treasure - Couture Creations

Hello and thanks for popping by today.
 
I have another layout to share using the Sea Breeze collection.
 
 
I don't really have a lot of beach pics so I thought I would be able to use it in other ways.
 
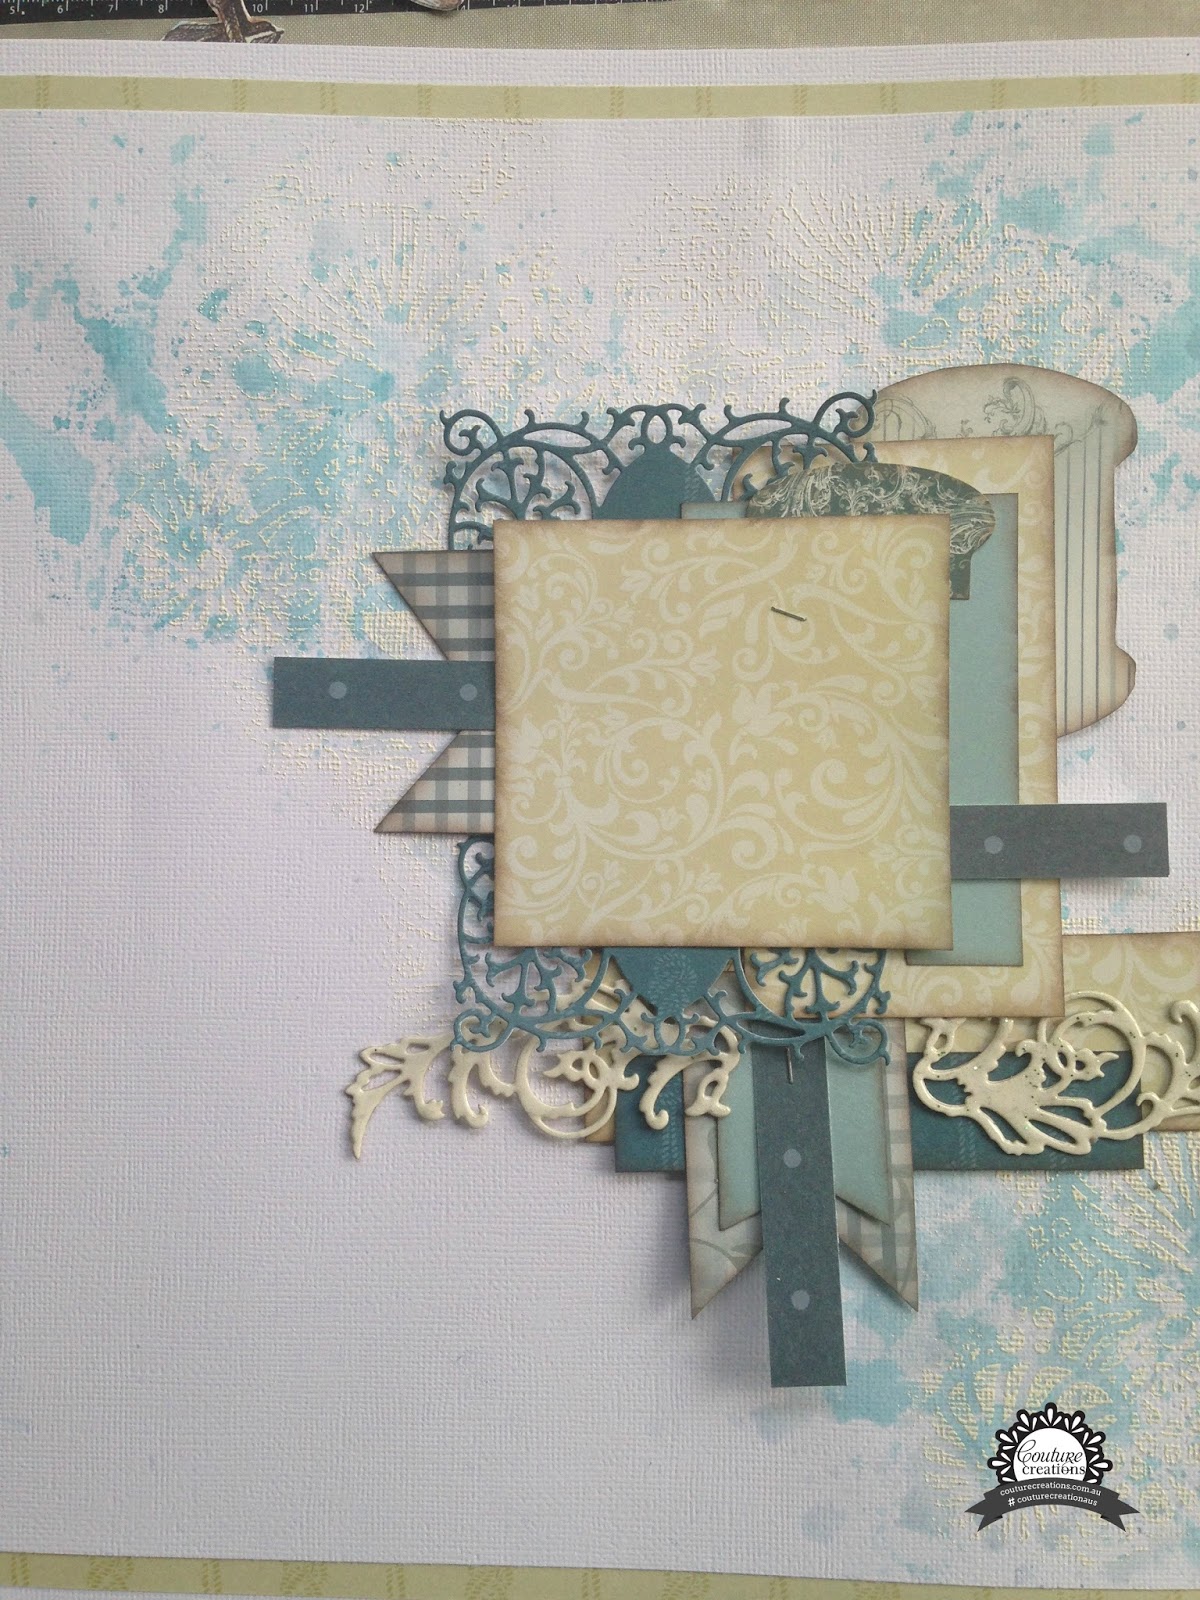
I wanted to try something a little different for the background.  Yep a little messy and uncontrolled for me but fun just the same.  Here is a closer look.
 

I used the Collecting Seashells embossing folder and some Versamark ink.  I gently tapped the inkpad over the top of the embossing folder and then used it as a stamp.  Once the image was on the paper I put some white embossing powder over the top and heat set it.  When it was cool, I then ran some watery blue paint over the top.  The embossed parts resisted the paint and just settled on the paper.


Using the Sea Breeze collection pack, I created my paper cluster.  I tucked in a cut of the Cardinal Frame die and also the Windy Flourish die.    The Windy Flourish die cut was cut from 2 piece of old cereal boxes and then stuck together.  I then used the Versamark ink again and covered with white embossing powder.  You will see on the final pic that I moved it over and made another cluster to the left of the page.
 
Using some Gelato's I coloured my flowers and added one of the super sweet cabochons to the centre.
 
Here is a closer look at some of the details.


You can see here how the embossing leaves just a slight bit of texture to the page.  I have also added the anchor charm from the charm set and also couldn't help but tuck in a doily.  This one is from the Magnolia Lane collection.


here below are all is the links to the latest online magazine and with some wonderful creations to inspire you all, and also links to the all the products.Creative Magazine Issue #16 HERE

Until next time


Tuesday, August 2, 2016

Hello and thanks for stopping by my little part of the cyber world.
 
Today I have a couple of layouts to share with you.
 
A couple of weeks back I got busy making some little embellishment clusters using some Kaisercraft collectables.  The range I used was called Confetti - one I have had stashed away for a while.

Once I made my clusters I then added them to my layouts.

Here is what I came up with.


I love how this turned out!  love the lacey look and the circles.

Below is a couple of close up shots


You can see here the little embellishments clusters.

 
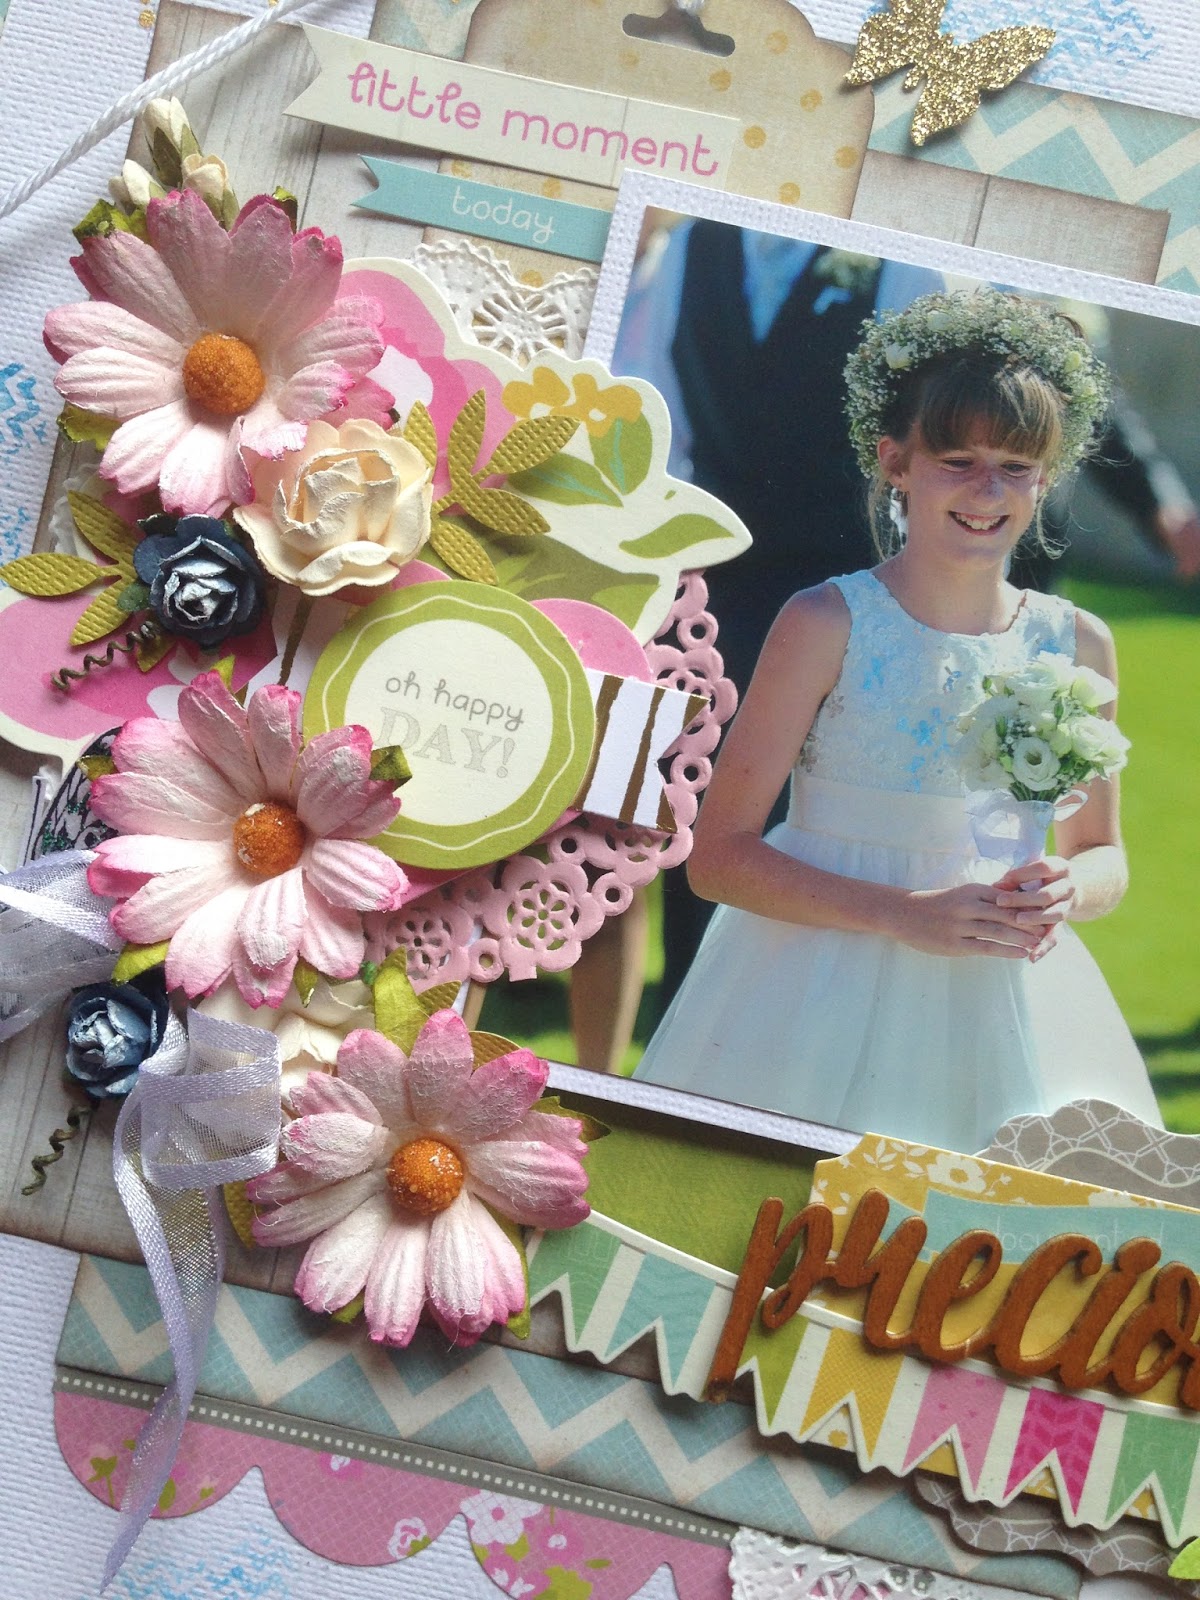
Here is another one using that same collection.  A pic of my beautiful girl at our wedding last year.
 

Again another couple close ups.


And just because I love this collection I squeezed one more out of it.  Another one of my little girl!


Thanks so much for stopping by.
 
Until next time
 
Hugs
 
Jo x

I'll Be Your Anchor - Couture Creations

Hello paper friends!
 
Thanks for stopping by.  Firstly a massive thank you to the wonderful people at Couture Creations for putting up with me for another term on this fantastic team.
 
I truly love being apart of this team and hope to continue to inspire you with some amazing products.
 
Today I have a super simple card to share with you using one of the new dies and embossing folders from the new Sea Breeze collection.
 

This card was super quick to put together.
 
I used the Framing The Breeze embossing folder along with some Co-ordinations cardstock.  I then sanded back the top layer to reveal the kraft underneath.
 
For my sentiment I used one of the stickers from the Sea Breeze collection paper pack.
 
My anchor (Anchored Flourish die) I made by cutting out the die using cereal boxes.  I cut it out 3 times and then stuck it together with glue.  This then gave me a good thick anchor to put my textured paste on.  I used some texture paste with little beads in and then used embossing powders in a mix of colours to give it an aged look.
 
Here is a close up of the detail in the anchor.


Thanks for popping by.
 
Until next time
 
Couture Creations Products used


Sea Breeze - By Your Side

Good morning!  Jo here to share with you a scrapbook layout using the beautiful new Sea Breeze collection.


To start with I took one of the papers from the Sea Breeze Collection pack and "smooshed" some gesso over it.  This was just to give it a bit of a dimensional white washed look.


Before I laid my paper and photo down, I used the Collecting Seashells embossing folder as a stamp to add a little more dimension.


My shells were cut from the Collection pack and I teamed my magnolia flowers with the Sandy Frame and Flourish die.  I also used the Anchored Flourish die cut out of cereal boxes and just gave it an aged look by adding some brown and black ink.
 
On the right hand side I have added some more shells cut from the pack and also tucked under the Cardinal Frame die.
 
Here is a close up of my embellishment cluster.

 
Until next time
 
 
Couture Creations Products used
 
 
Ultimate Crafts Products used
 
Tools used
 
Adhesives used


Saturday, June 18, 2016

Sand Between My Toes - Layout for Couture Creations

Hello lovely people and thanks for stopping by!
 
Today I have a layout to share  using the beautiful new paper line by Denise Boddey - Sea Breeze.


Here is how I created my layout.
 
I started with the new 8 x 8 Anna Griffin Stencil - Arabesque Rose Trellis and also used some Pearl Drops to create my background.


Using the Sea Breeze collection pack I cut the frame and the lighthouse from the paper - A Day Fishing.

I also cut the shells from the Navigating At Sea cut apart paper and started to layer then on my page.
 
I then added some of the La Belle Vintage blooms.  These blossoms are great as you can also pull the middle out to make smaller flowers.  I teamed my flowers with the leaf die Rose Cutting from the Magnolia lane line.  I have also used the Square Magnolia Frame die too.  I love how you can mix two ranges and still get a great result!
 
I finished off my layout with  some of the charms from the Sea Breeze Charm Set as well as the Sticker sheet with also comes in the collection pack.
 
Here is a close up of some of the details.


Thanks for looking
 
Until next time


Couture Creations Products used
 
 
Ultimate Crafts Products used
Magnolia Lane Dies
Tools used
 
Adhesives used


Tuesday, June 7, 2016

A Little Birthday Wish with Magnolia Lane

Hello crafty peeps!
Thanks for stopping by.  Today I have a card to share with you. 


I have to say, I haven't gotten tired of playing with the beautiful Magnolia Lane papers.  This time I thought I would use the blue tones in the paper
First I embossed a piece of white card with the Typography embossing folder.


Using the Square Magnolia Frame die I cut 1 piece from the Timeless Garden paper and also 1 from plain white cardstock.


I cut the white cardstock frame in half on the diagonal and adhered it to the a piece of the Magnolia  Borders paper


I then placed my embossed piece onto another piece of the Timeless Garden paper and then placed the blue Square Magnolia Frame on top.  To mix it up a little I put the white insert from that die in the middle.


Its now time for the pretties!  The part I love to do the most.
Yep I am a sucker for flowers.  For this card I have used the a Cottage Pollen Flower and also a Camden Cottage rose.  I added some Glitzin Glamour for some sparkle to my big flower.  I then added some of the resin corners.  I LOVE these little resins.  To make them pop a little more I have gently swiped them with a versamark inkpad and added some gold embossing powder to them.


As an added "bonus"  I have created another card using those sweet resins and also the resin cameos as a feature on my card.


Thanks for stopping by
Don't forget to follow the Couture Creations Blog and also follow Couture Creations|Ultimate Crafts on
Facebook, Pinterest, Instagram and Twitter


 Happy Creating 


Ultimate Crafts Products used

Tools used
Adhesives used